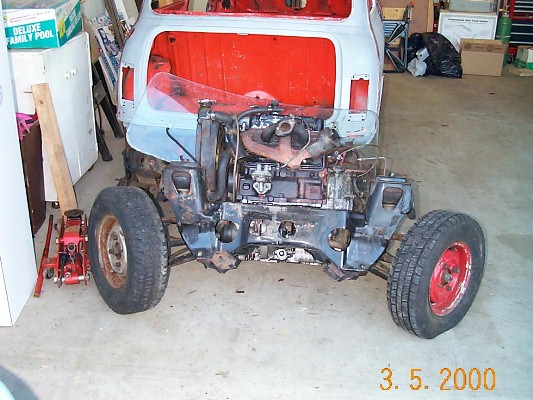
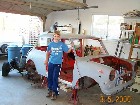
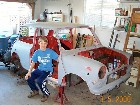
| 1. The first thing to do was to strip everything off the body shell
and find a place to put it all. |
 |
2. Now here is my hard working son holding up the car. |
 |
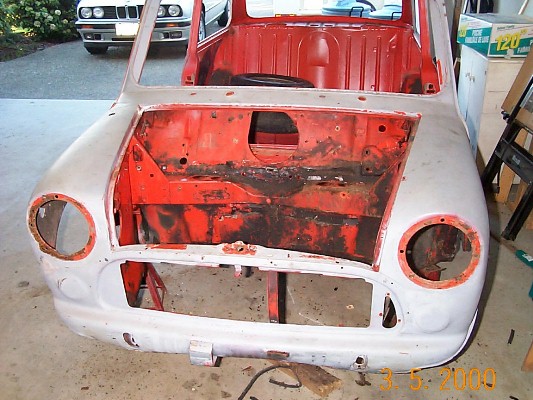
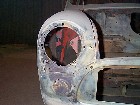
| 3. Time to take a closer look at the shell. |
 |
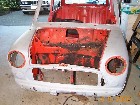
4. A front view of the shell. |
 |
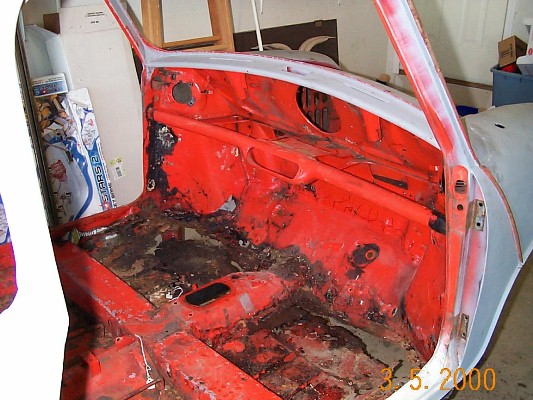
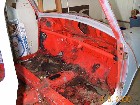
| 5. With all the floor patches removed, it looks like time for a new
floor. The crossbar is also very badly rusted away. |
 |
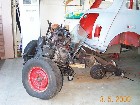
6. Look who's sitting down on the job! |
 |
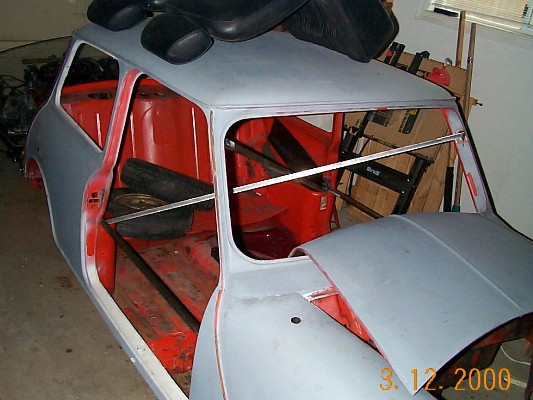
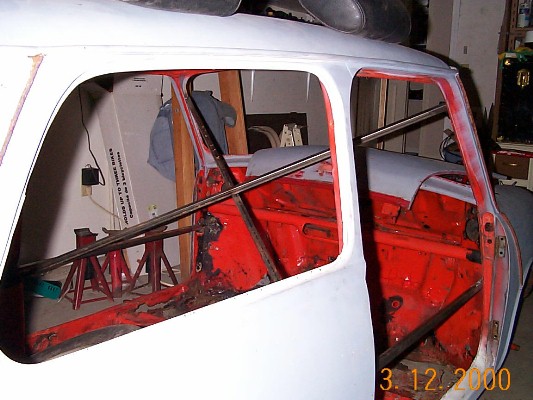
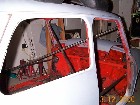
| 7. Before moving the car around and loading onto the truck, some cross
braces were welded into place to prevent the car from moving out of alignment. |
 |
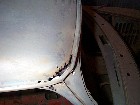
8. And the view from the rear. The bars are 1 1/4 inch square tubing,
welded from the upper windshield post, to the door frame just above the
rear pocket on the opposite side. An additional piece was added across
the door frame as well. |
 |
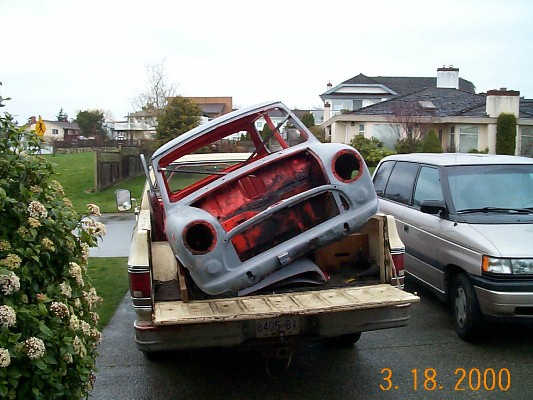
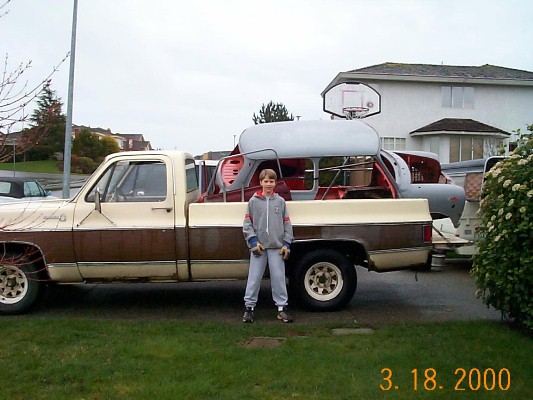
| 9. Here we are loaded up and ready to deliver the car to Quik Strip. |
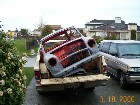 |
10. A side view with the hard working assistant. |
 |
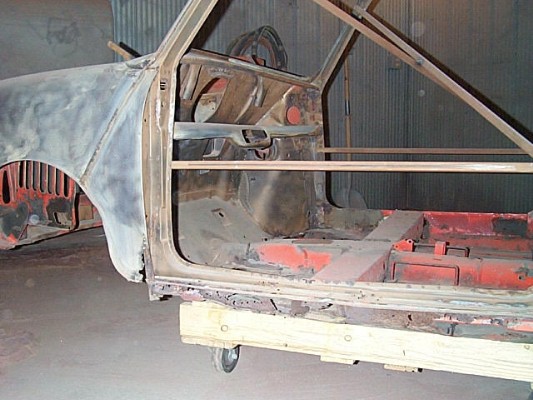
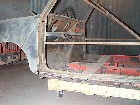
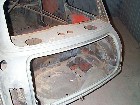
| 11. A visit to the Quik Strip shop and a few photos taken there. As
seen lots of holes uncovered. |
 |
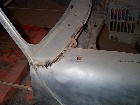
12. A lot of perforation here on the fender, so it looks like a new
one will be in order. |
 |
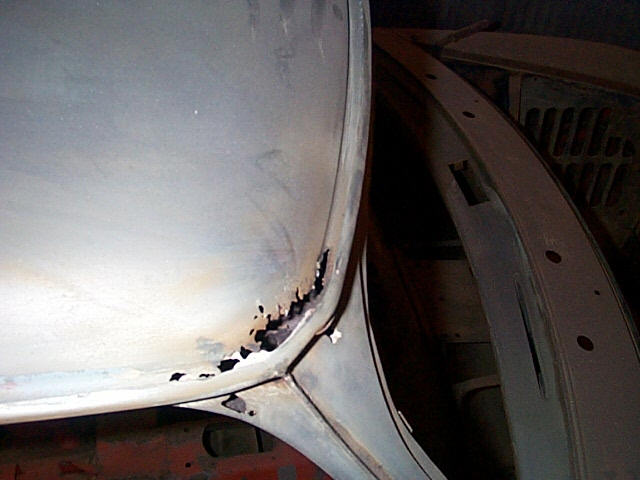
| 13. This will be difficult to repair, but it's only on one of the four
corners. |
 |
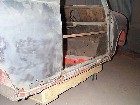
14. And a view from the rear. Battery box is OK, a few holes around
the sub frame mounts. |
 |
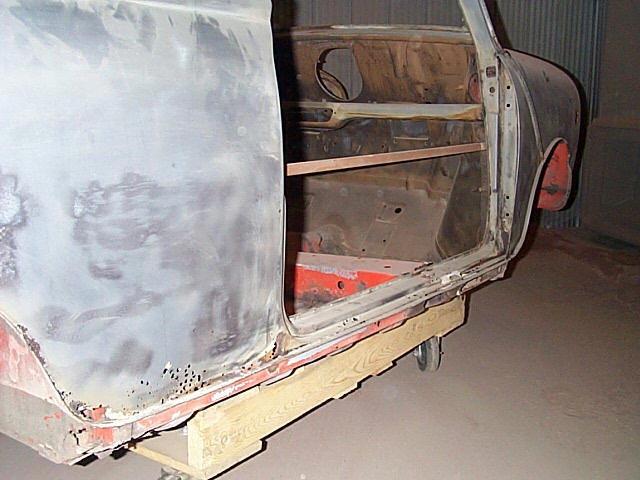
| 15. You can see the rust holes all along the door steps and just in
front of the rear wheels. New door steps required on both sides. |
 |
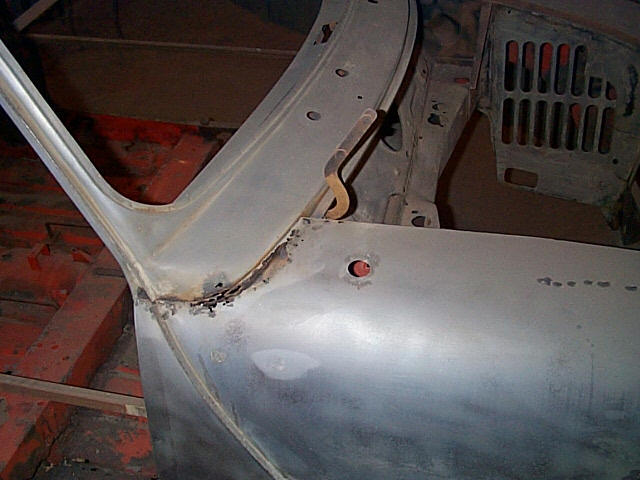
16. And as usual, the seam on the fender is also rusted away. |
 |