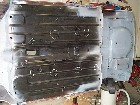
| 1. This is a picture of the floor bottom, where I have marked the location
of all the brackets for holding the wires and lines. |
|
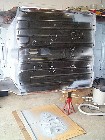
2. These brackets do not come fitted to the new floor, so they were
removed from the old floor, stripped of sealer, paint and rust, and zinc
primered. You can see them on the board below the car. |
|
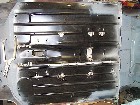
| 3. Then each of the brackets was plug welded onto the new floor. |
|
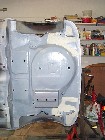
4. The rear area was then sealed with seam sealer prior to welding
the rear Valance in place. This made it a lot easier to reach all the areas. |
|
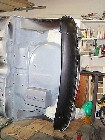
| 5. A shot of the rear valance plug welded in place. I took a bit of
tugging and clamping to fit as this was an after market panel and the fit
was not the best. |
|
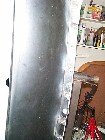
6. A close up of the plug welds. These get ground down and sprayed
with a primer until the total car gets primered and painted. |
|
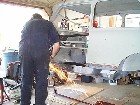
| 7. Now onto the door steps which were very badly rusted. Manning the
grinder is Pat from our local Mini Club, the Victoria Minis |
 |
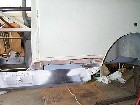
8. A close up of the cutaway area. The replacement panel was offered
up to make the initial markings and provide the guidance for cutting away
the old metal. (and rust) |
|
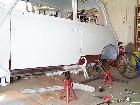
| 9. Then with the door mounted, the new panel was lined up, screwed
in place and clamped. the body was then marked, the panel removed and the
body trimmed. |
|
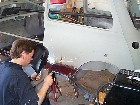
10. After stepping the edge of the car and refitting the panel the
welding in begins. Pat shows off his welding skills! |
|
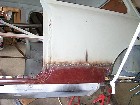
| 11. Completed weld along the body area. Thanks Pat! |
|
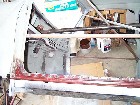
12. Completed welds for the other end and the plug welds along the
door step. You can see the bracing that was put in place to keep the door
opening from distorting while the floor was out. |
 |
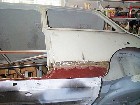
| 13. Then the grinding begins, to smooth out the welds on the body..... |
|
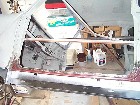
14. ...and all the plug welds along the door step. Oh the noise!! Good
thing for ear protectors. |
|
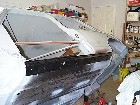
| 15. Next was to fit the outer sills. here I went with the original
sills as they seemed much better quality and thicker metal. |
|
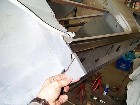
16. The extra piece I left on the repair panel is now trimmed off,
so it matches the contour of the outer sill. |
|