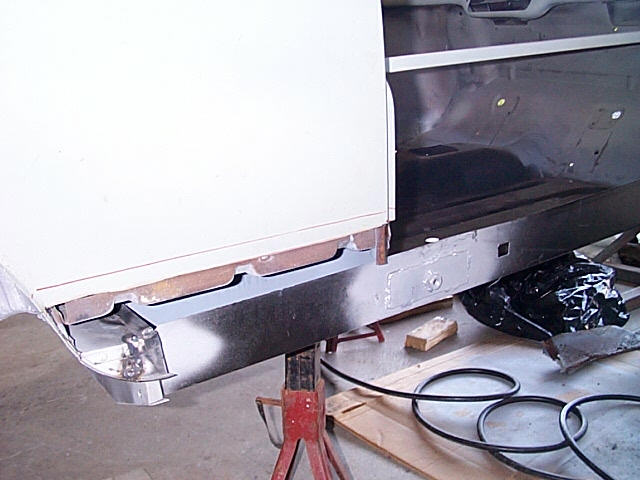
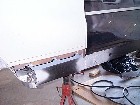
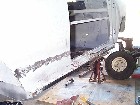
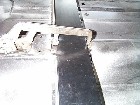
| 1. This is a picture of the rear of the outer sill being fitted into
place and all lined up with the door step and the floor. |
|
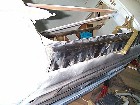
2. Then the welding begins, plug welding along all the edges. The edges
were marked for the holes, which were punched using an air punch. |
|
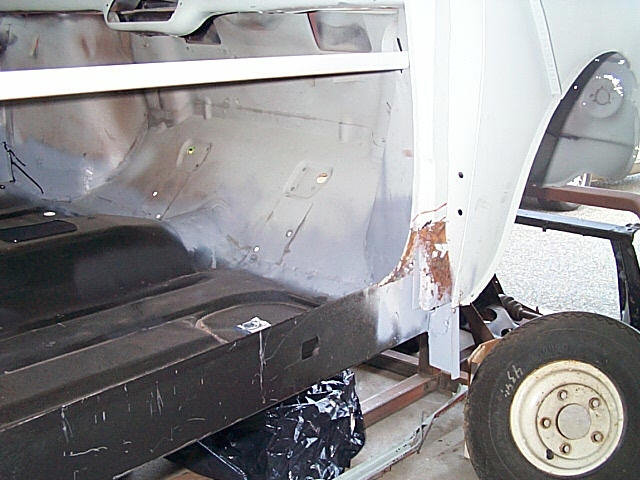
| 3. Then each of the holes had the paint ground away around it as did
the door and door step. these areas were then all primed with the zinc
weld-able primer. |
|
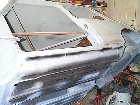
4. The previous picture show the welding around the rear of the sill
and this one highlights the front. |
|
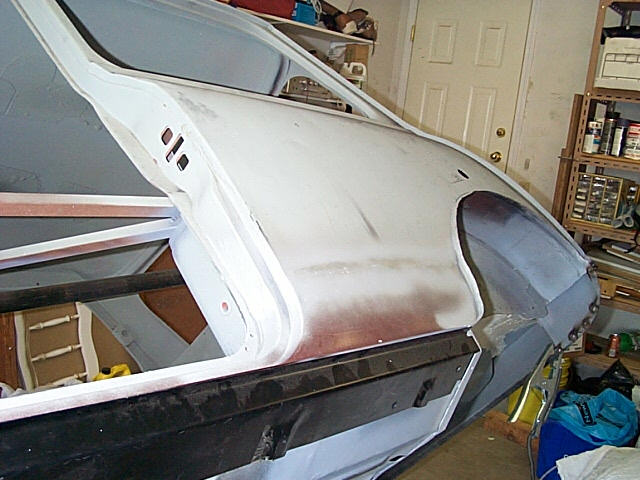
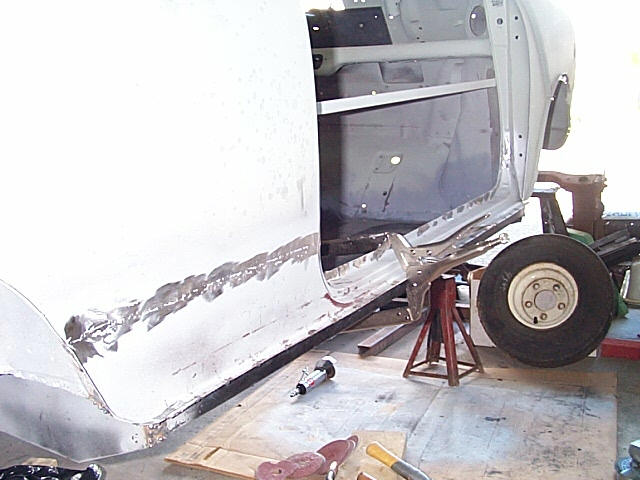
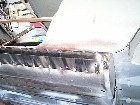
| 5. Finally, all the welds ground and primered for protection. |
|
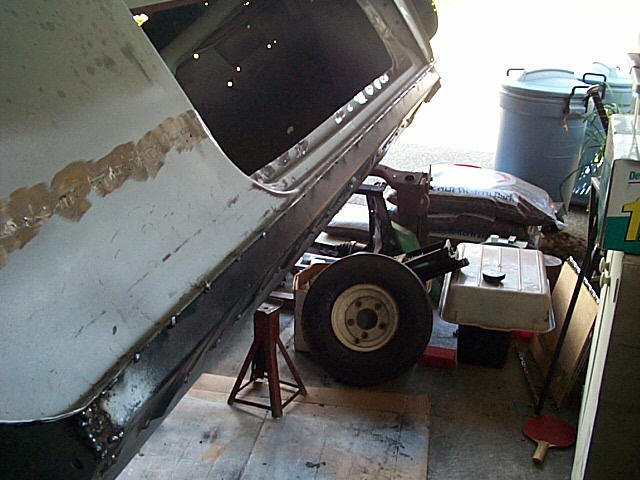
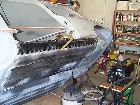
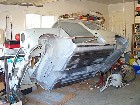
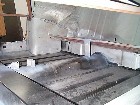
6. A view of the whole car as I haven't had any shots like this in
a while. It's starting to look like a car again. |
|
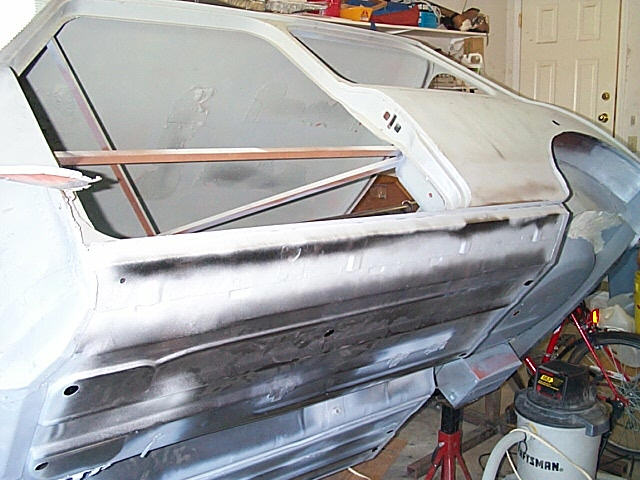
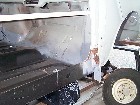
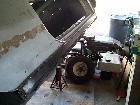
| 7. Starting now to work on the passenger side door step, mount the
door, fit the new panel, scribe a line and cut below to allow for a final
fitting. |
 |
8. The cutaway area on the front of the panel. |
|
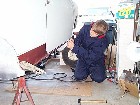
| 9. Chris, my son checks the fitof the new panel, with the door mounted. |
|
10. With the fit of the panel confirmed, it is welded into place, after
removing the door. The door comes off and on several times as the fit is
checked and rechecked. |
|
| 11. Now the outer sill for the passenger side is trial fitted, and
clamped in place, welded, ground down and primered. As the task is
the same as the drivers side, I 'm not putting
up any photos for this.. |
|
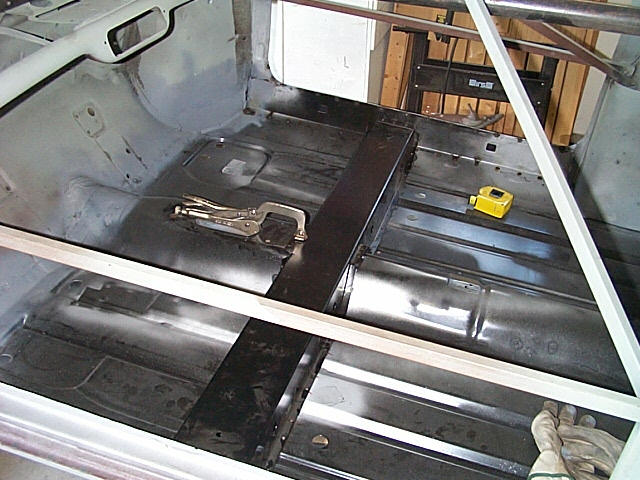
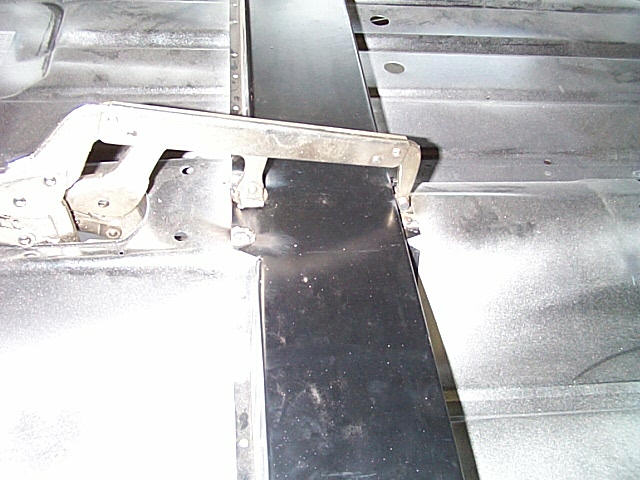
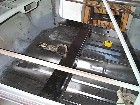
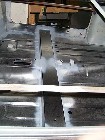
12. Here I am fitting the crossmember in place and clamping to mark
the holes for plug welding. Then all the holes were punched, the paint
ground away and the surface treated with zinc weld-able primer. |
 |
| 13. This view shows where the paint is removed from both the floor
and the cross member to ensure a good weld. |
|
14. With good clamping, the welding begins!! |
|
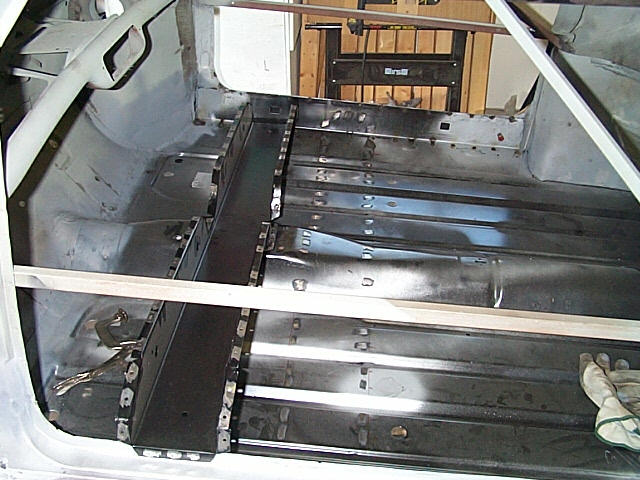
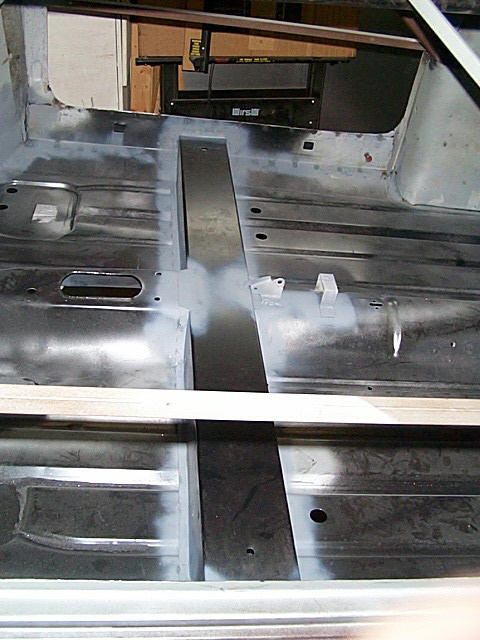
| 15. The last thing on the floor was to bolt the hand brake to the mounts,
tack them in place, remove the hand brake assembly and finish the welds. |
|
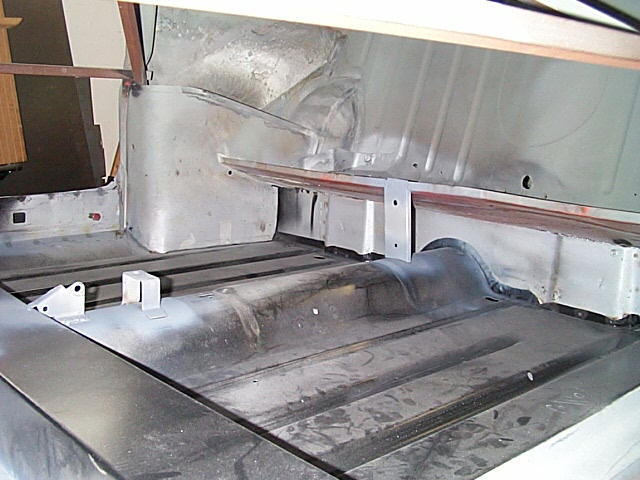
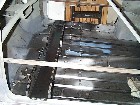
16. The support for the rear seats was also added. This completes the
floor and the body panels from the firewall back. Later I'll fill in the
side indicator lamp holes and repair some rust holes along the bottom of
the rear window...but now onto the frame... |
|