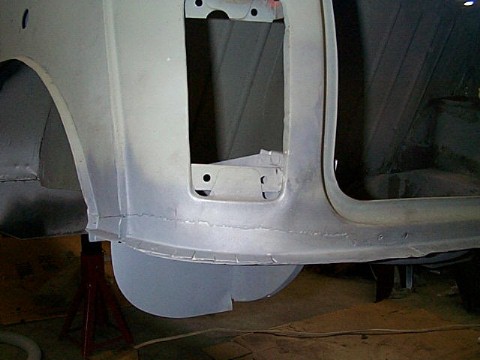
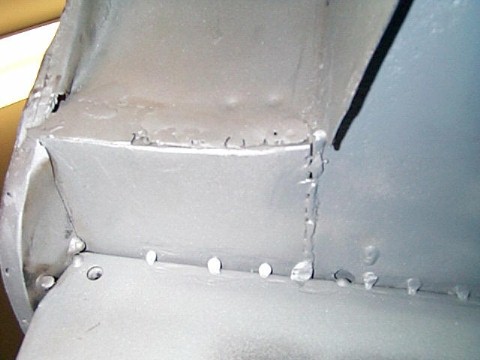
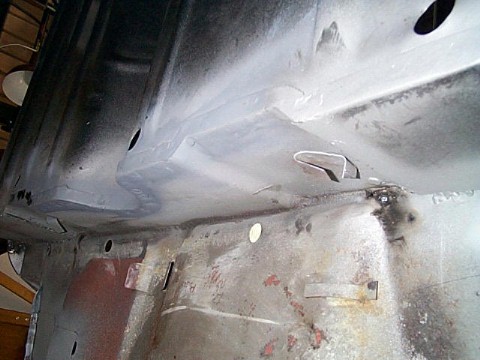
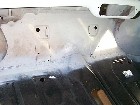
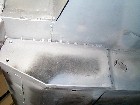
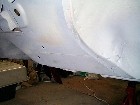
| 1. This is a shot of the rear corner on the drivers side. this had
to be fabricated to replace due to all the rust.. |
|
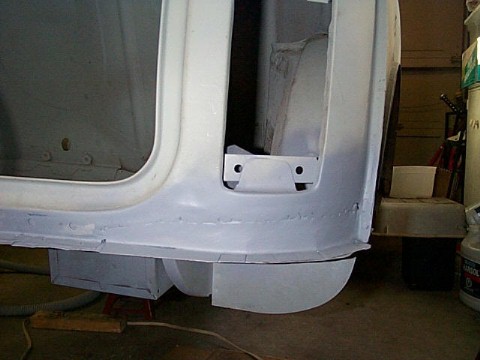
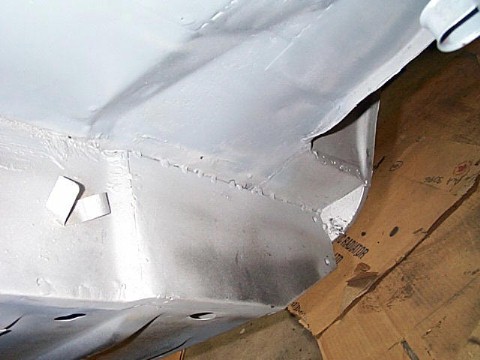
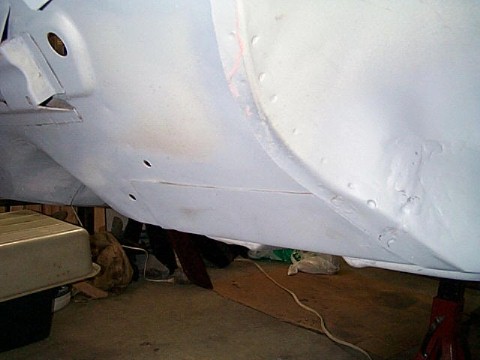
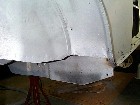
2. And the passenger side as well. there was not a lot of metal left
so the new rear valance was used as a template for the lower lip. |

|
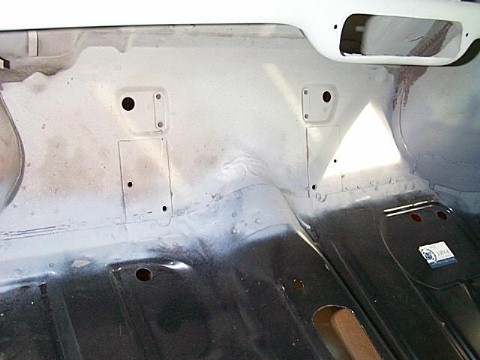
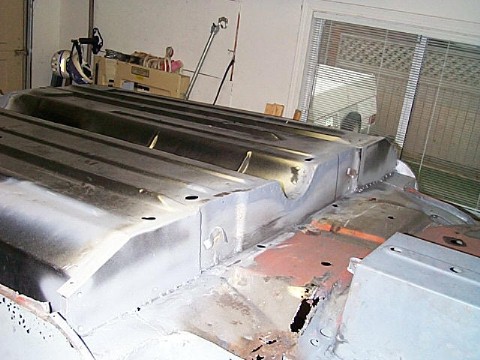
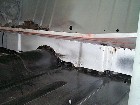
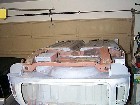
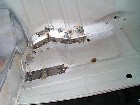
| 3. Here is the inside view of the floor welded into place. |
|
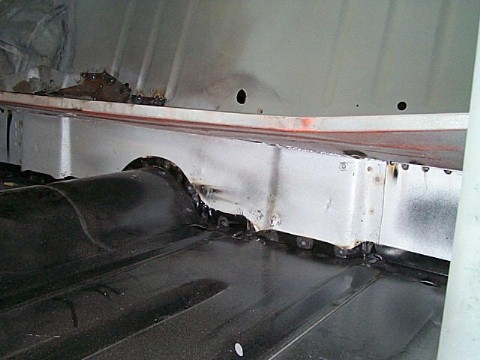
4. And the rear of the floor underneath the back seat. |
|
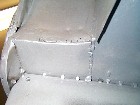
| 5. I neglected to take pictures while welding in the new closing panels
at the front of the rear wheel wells, so here are a couple of pictures
from later. |
|
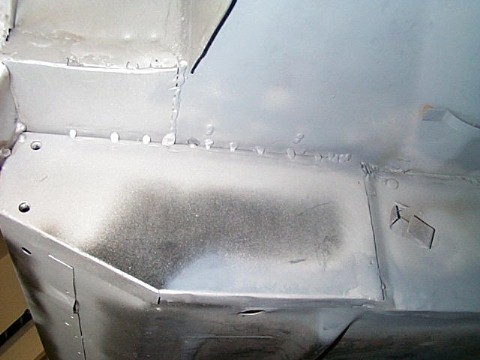
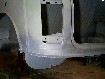
6. Here is the passenger side closing panel. |
|
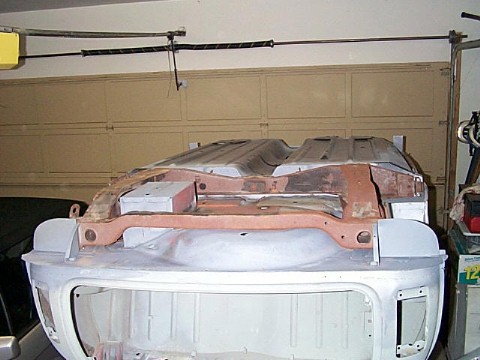
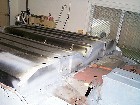
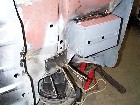
| 7. Now the subframe was bolted back into position using the trunk floor
holes for locating. |
 |
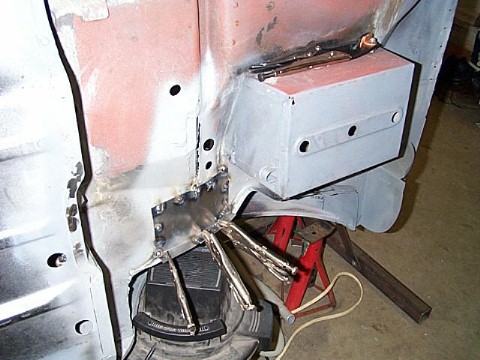
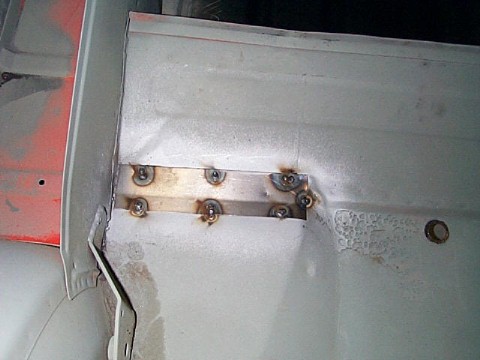
8. The front mounting plates were placed into position and the subframe
bolted to them. Once all was aligned a few tack welds were made to hold
everything in place. |
|
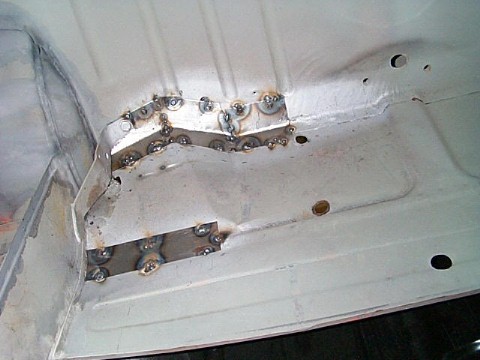
| 9. Then with the subframe removed, the final welding of the mounts
was completed and painted. |
|
10. And another view of the back of the floor and the subframe mounts. |
|
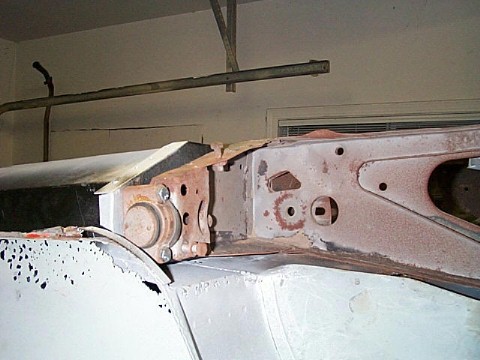
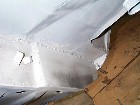
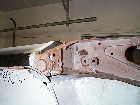
| 11.A close-up of the mount on the drivers side. |
|
12. This shows the passenger side front subframe mount finished. |
 |
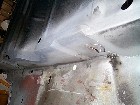
| 13. There were a few holes rusted through the front part of the trunk
floor so some patches were added to fix up this area. |
|
14. I also added some reinforcing patches inside the car where the
subframe mounts welded to the rear seat. Part of this had rusted away and
I wanted to keep strength in this area. |

|
| 15. The same thing was required on the passenger side, as well as some
repairs to the rear of the seat back. |
|
16. This shows the patch fabricated and welded into place on the front
of the car to repair the area between the new floor and the rest of the
front of the car. |
|