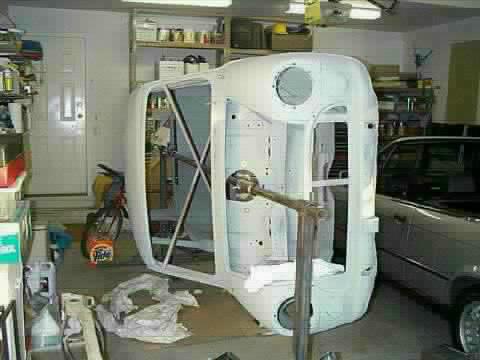
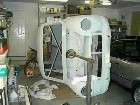
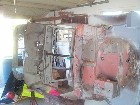
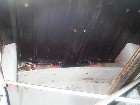
| 1. Here is the view from the front of the cat on the spit. |
 |
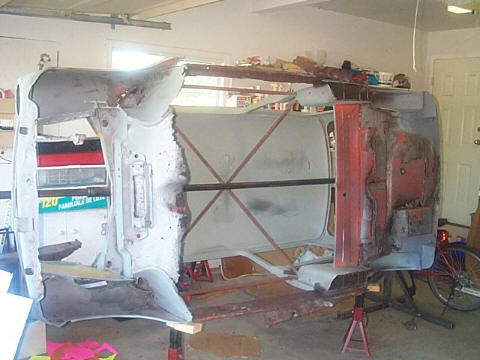
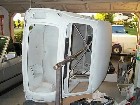
2. And the rear view. It sure makes it a lot easier to work on the
underside of the car. Thanks to my neighbour Tony for his help in
supplying the stands. |
 |
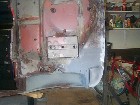
| 3. The first thing repaired was the rear corners under the tail lights.
The rear valance was removed first. |
 |
4. Both rear corners were fabricated along with the floor panels need
to repair the trunk floor.. |
 |
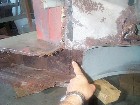
| 5. Here is both sides of the trunk floor completed. The closing valances
and subframe mounts were repair parts, located by mounting the subframe
to hold them in place while they were tack welded. Finally they were spot
welded in after removing the subframe. |
 |
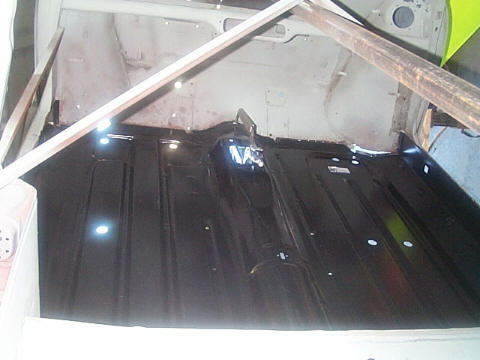
6. Next the floor was cut out. You can see the cross bracing in the
car as well as the spit pole. |
 |
| 7. Here is another shot from the rear, you can see the repaired floor
of the trunk. |
 |
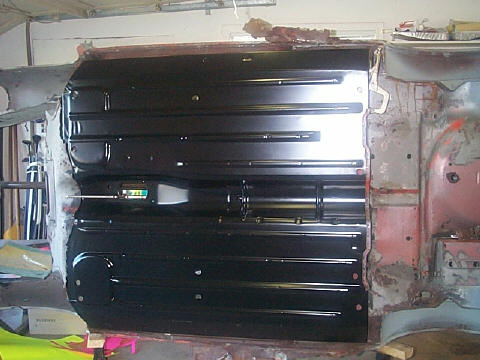
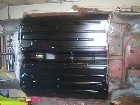
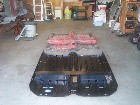
8. This is a trial fit of the new floor pan. |
 |
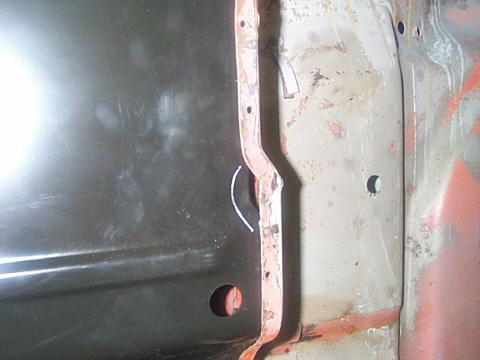
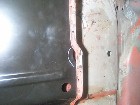
| 9. Here is an area where the floor doesn't quite fit. See the white
chalk line drawn on the floor. The curve in the rear of the floor starts
at about an inch or so different than the new floor pan. |
 |
10. View of the inside front fit of the floor pan. |
 |
| 11. View of the inside rear fit of the floor pan. Note the Mini is
upside down so the orientation of this picture is unusual. |
 |
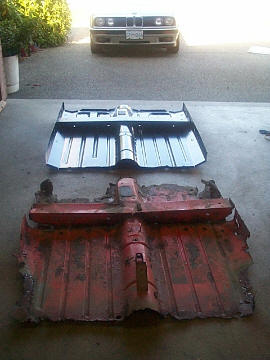
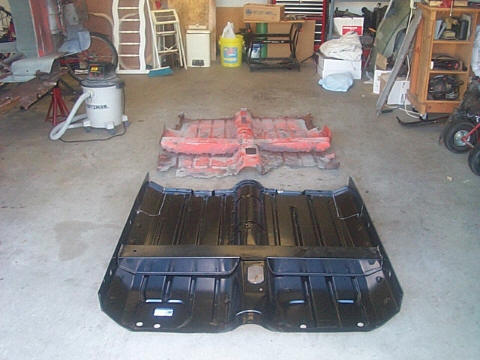
12. A shot of the old and new floor pans. You can see how much is missing
from the sides of the old floor pan. |
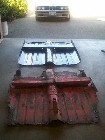 |
| 13. Another view of the two floor pans. |
 |
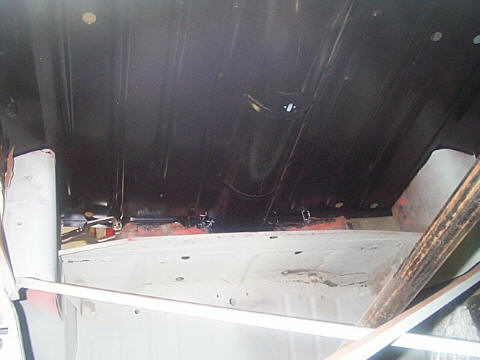
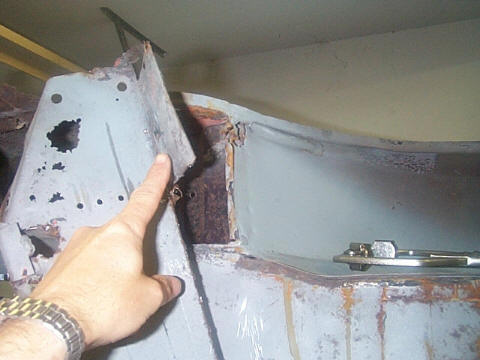
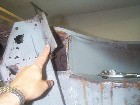
14. I also removed the closing panel and the front mounts for the subframe
at this point to allow me to get clamps along the trunk floor for welding.
You can see the rust right through the mounting area |
 |
| 15. A view underneath the mounting for the rear subframe. All this
will get cleaned up and painted before sealing it all in. |
 |
16. More on the next page |
 |