| Mike's
Mini Project -VTEC Install 6
|
| The intake manifold modifications are shown here and then the modifications to the exhaust manifold. |
| 1. Here is a trial fit of the manifold into the car. There is lots of clearance under the hood. | 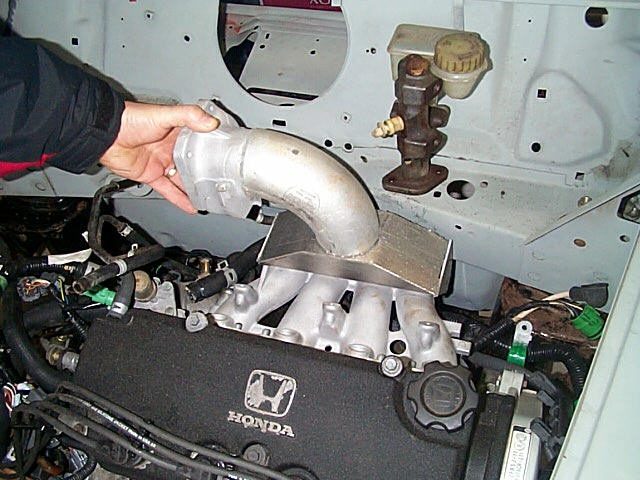 |
2. ...and the driver side (RH) view shows the clearance is still a little tight so there will be a little more work to increase the clearance. | 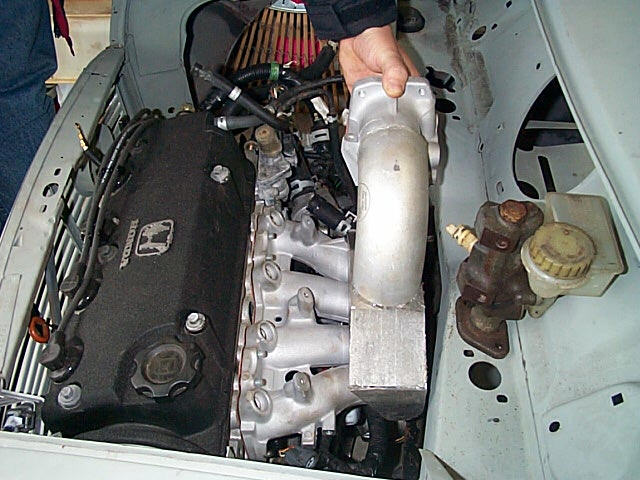 |
| 3. A view of the remaining part of the old manifold mounted in the car. | 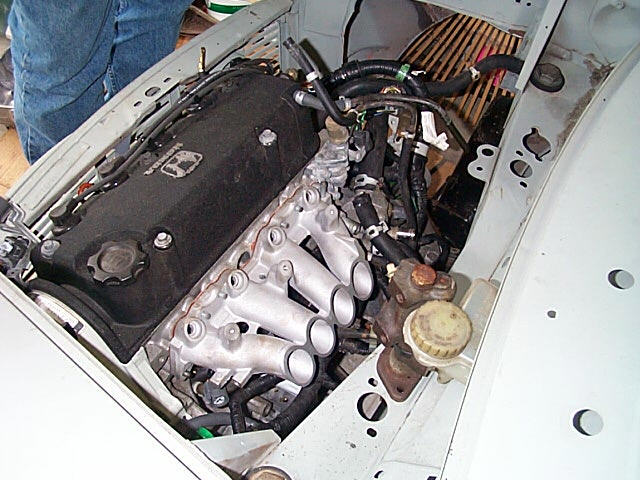 |
4. Another view of the manifold from the front.... | 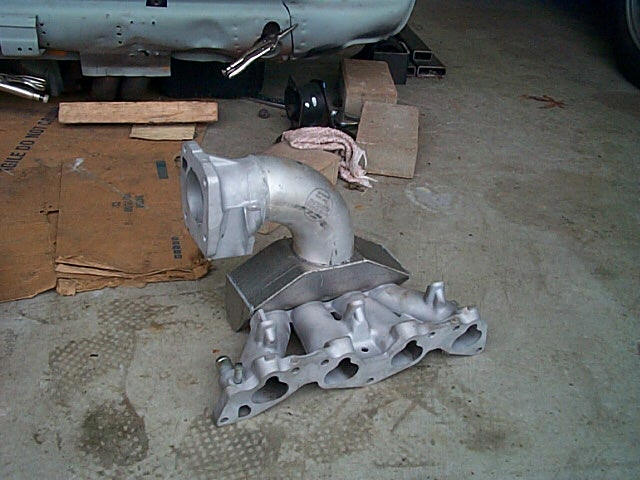 |
| 5. ...And the rear. A little more work on the rear and then the welding up will be done. |  |
6. Pat's mini! Pat is doing the the work on the manifold for me.. Thanks Pat!. | 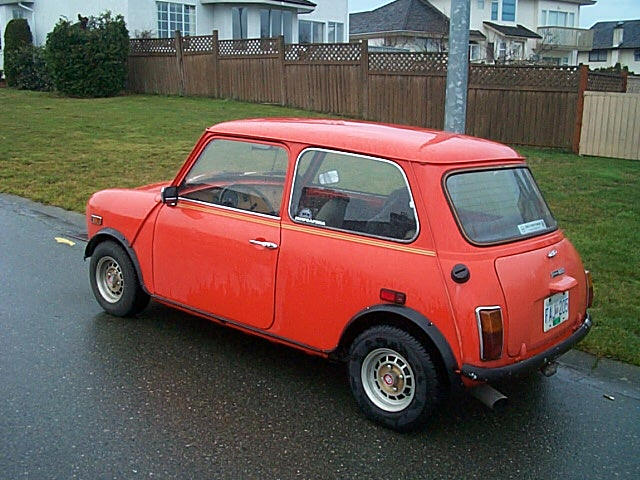 |
| 7. Front view of Pat and Sarah's Mini. | 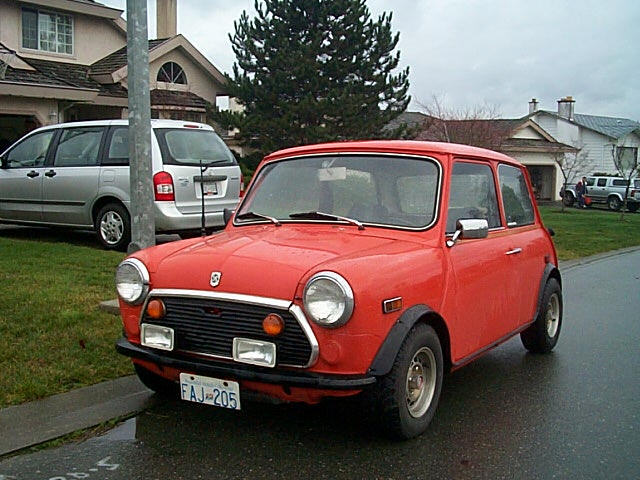 |
8. A rather nice looking engine bay. | 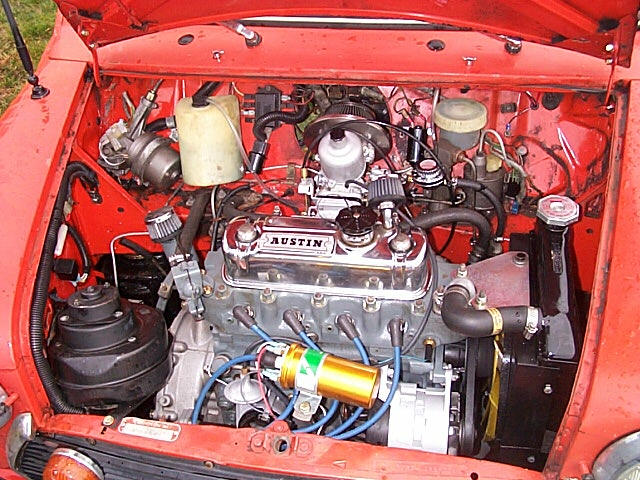 |
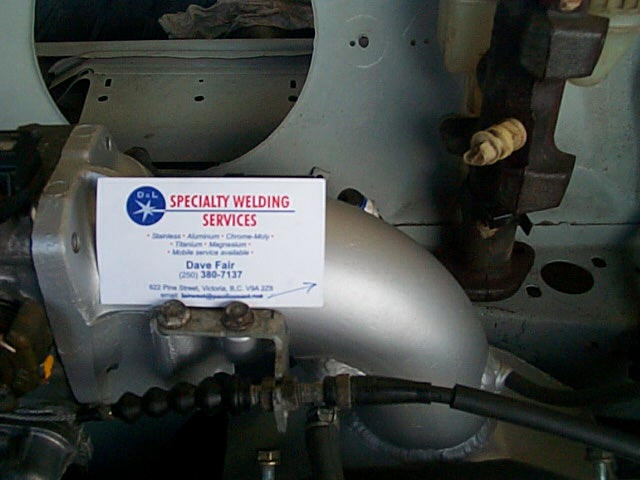
| 9. Back from D&L Specialty Welding Services. Take a close look at the quality of the welds...what a great job. |  |
10. Rear view with more high quality welding. Thanks to Dave Fair for the work. | 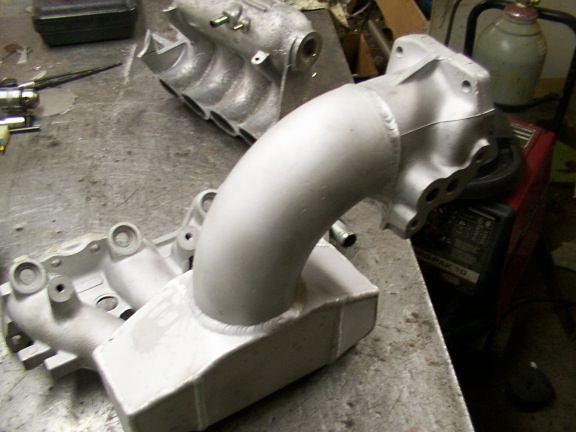 |
| 11. And the bottom. We welded up the main parts first, and then will follow with the sensor mounts and vacuum pipes etc. | 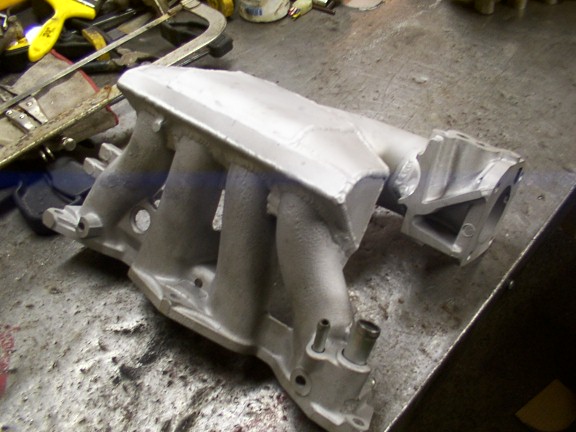 |
12. Here you can see the old and new together and some of the fittings that will be welded onto the manifold. | 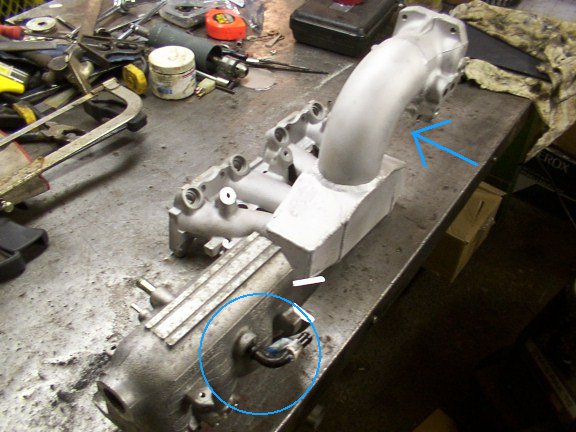 |
| 13. With all the welding done, the manifold painted with an aluminium paint, the bits start to get reassembled. | 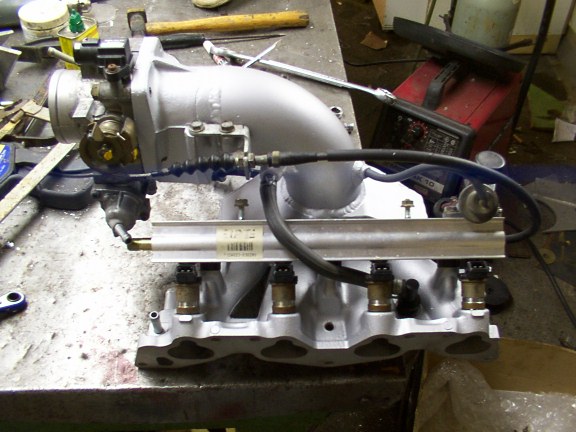 |
14. Fuel rail, injectors, sensors etc now all installed. We kept all the sensors that were on the original manifold and kept them as close as possible in the same position and area. | 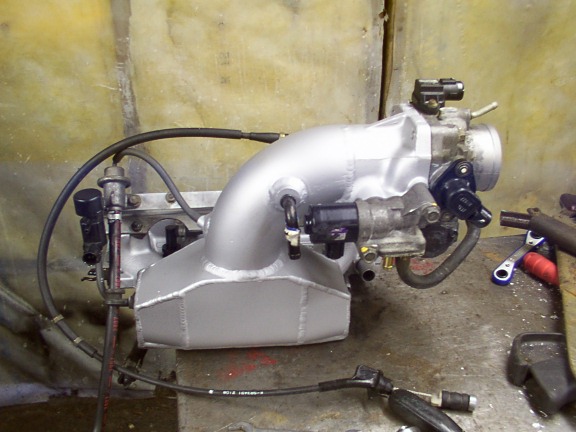 |
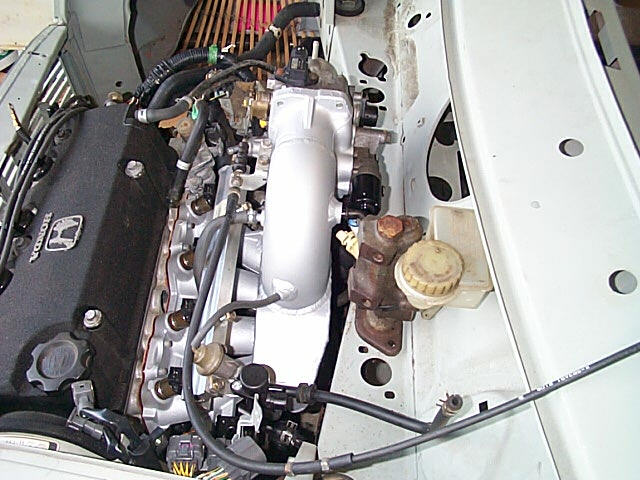
| 15. Yahoo...it fits in the car. Lots of hood clearance and.... | 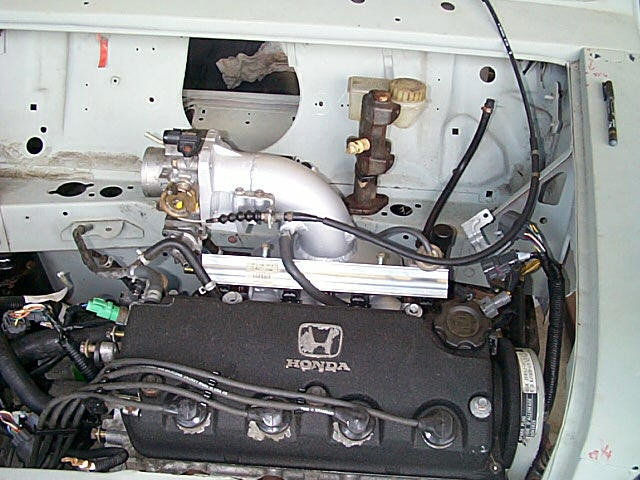 |
16. good clearance to the firewall now. |
 |
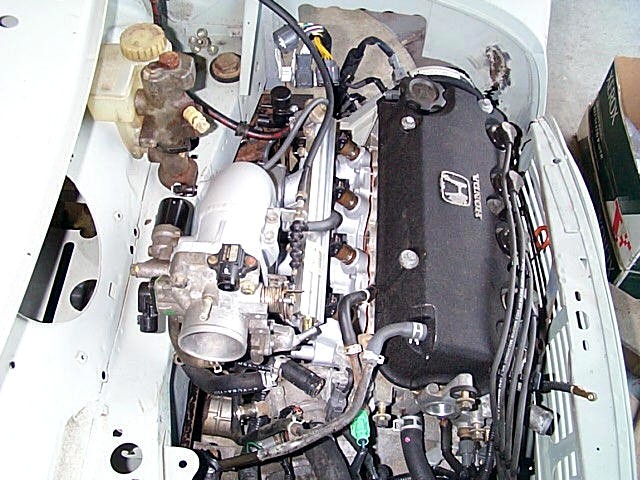
| 17. A side view, There's a slight problem with the fuel hose where it attaches to the fuel rail, but I should be able to work that out fairly easily. |
 |
18. Thanks again to
D & L Specialty Welding Services 622 Pine Street Victoria BC 380-7137 Dave Fair Now onto the exhaust manifold to clean up a clearance problem there... |
 |
|
Mike' VTEC Install Project | Page 1 | Page 2 | Page 3 | Page 4 | Page 5 | Page 6 | Page 7 |Page 8 |